Looking to add functional shelves to your walls without drilling, hammering, or damaging the surface? Command Strips offer a clever, damage-free solution that’s perfect for renters, dorms, or anyone who wants to keep walls pristine. In this detailed guide, we’ll walk you through how to hang lightweight floating shelves using Command Strips—from choosing the right type to installing and decorating with confidence.
⚠️ Important Note: Command Strips are only suitable for lightweight shelves (typically under 5 lbs including contents). Heavier items like solid wood or large shelving units require traditional wall anchors or brackets.

Can You Hang a Shelf with Command Strips?
Yes, you can hang a shelf with Command Strips—if the shelf is lightweight and properly supported. Command Strips are specifically designed to hold objects on walls without leaving holes or damage. They work best for small floating shelves used for decorative purposes, such as displaying books, plants, or picture frames. Just make sure to follow the weight limits and use shelves with flat backs for optimal adhesion and safety.
Note: If you’re looking for big floating shelves that are pre-finished and easy to mount on the wall, be sure to check out our handcrafted wooden floating shelves from DTWood Decor
Why Use Command Strips for Shelves?
Command Strips are adhesive-backed mounting solutions designed to hold items without damaging the wall. They’re ideal for:
- Renters avoiding permanent holes
- Quick seasonal shelf displays
- Clean modern looks (no visible hardware)
They work best on smooth surfaces like painted drywall, laminate, glass, and tile. Avoid textured walls, brick, or unfinished wood.
🧰 What You’ll Need
- Lightweight floating shelf (under 2–4 lbs)
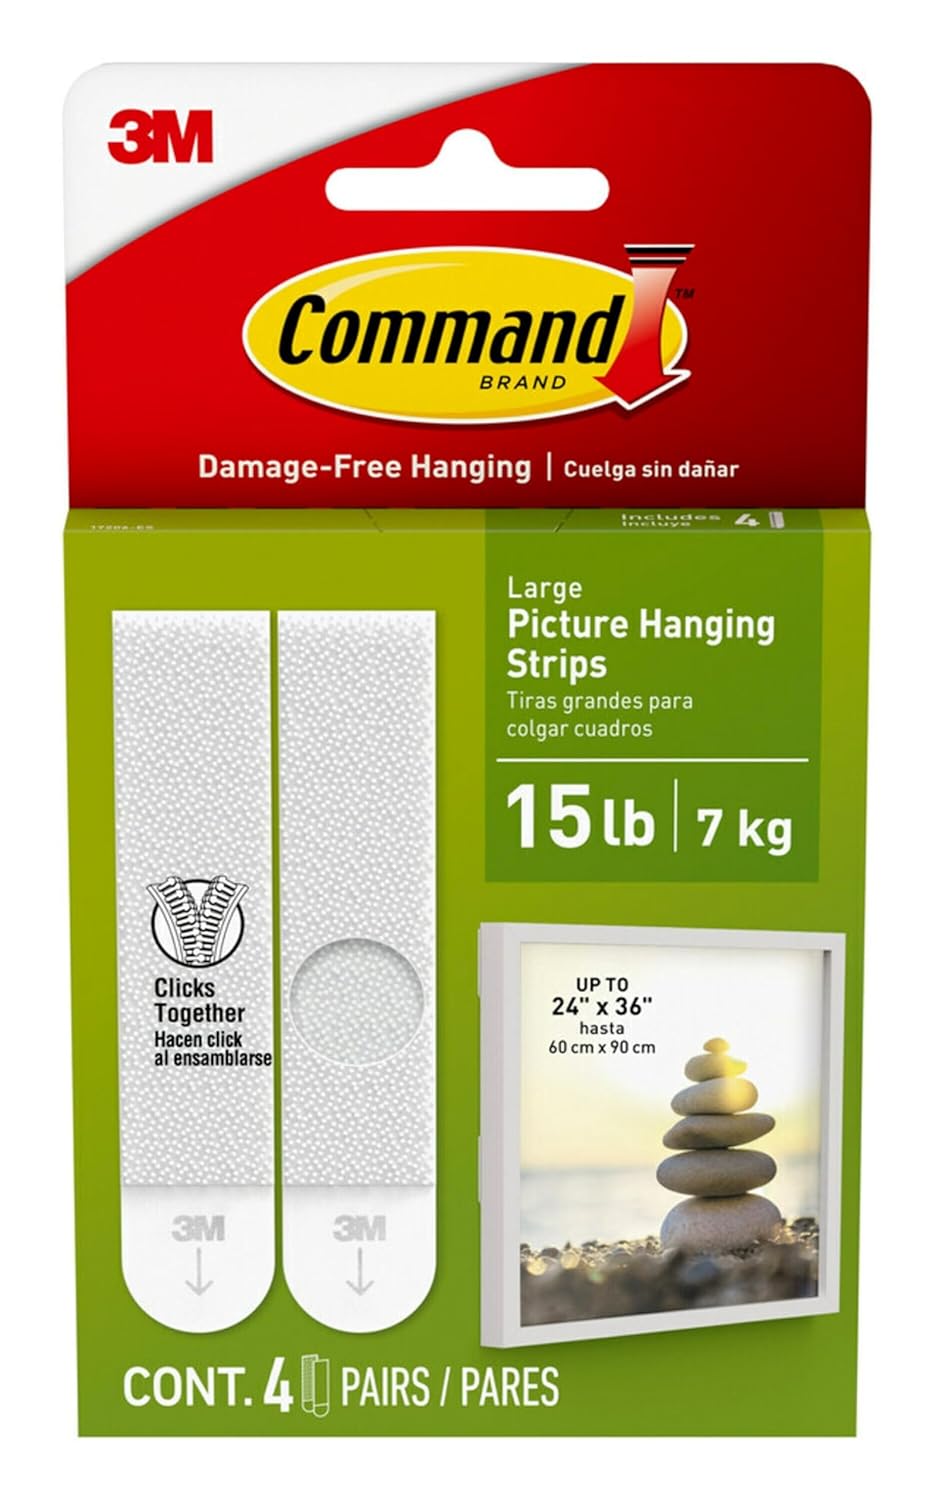
- Command Picture Hanging Strips (medium or large size)
- Rubbing alcohol & clean cloth
- Pencil & level
- Measuring tape
Hanging Shelves with Command Strips: 6 Steps
Step 1: Choose the Right Shelf
Opt for a lightweight shelf—typically made of MDF, particleboard, acrylic, or hollow-core wood. Shelves should have a flat back surface to allow Command Strips to adhere properly.
✅ Ideal shelf weight: Under 5 lbs including items placed on it
✅ Shelf depth: 4–6 inches for stability
✅ No integrated brackets or heavy mounting hardware
❌ Avoid natural live edge wood shelves or heavy hardwoods for this method.
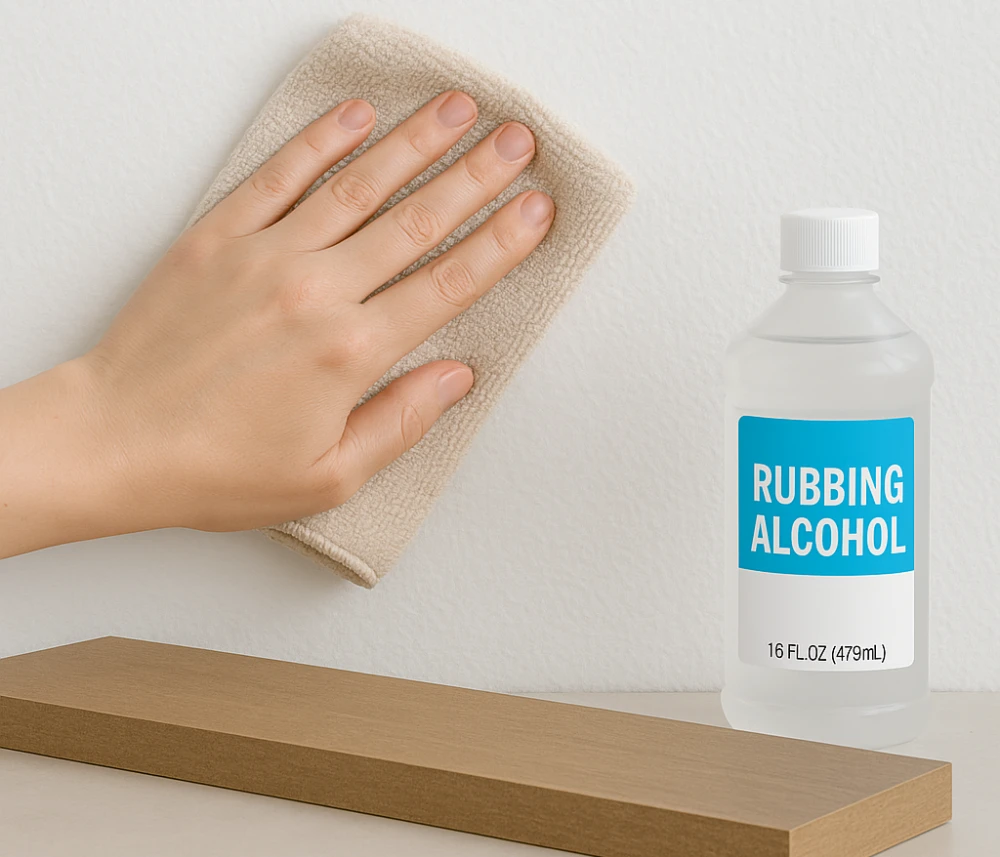
Step 2: Clean the Wall and Shelf
Clean surfaces are crucial for the adhesive to bond.
- Wipe the wall and the back of the shelf with isopropyl alcohol (rubbing alcohol).
- Let dry completely for at least 5–10 minutes.
Do not use water, soap, or household cleaners—these can leave residue.
Step 3: Apply the Command Strips
- Separate and connect each pair of Command Strips together (hook-and-loop side in).
- Apply the adhesive side of one strip pair to the shelf’s back, spacing them evenly—1 near each end, ~2 inches from the edge.
- Press firmly for 30 seconds.
Use two to four pairs depending on shelf length and weight rating.
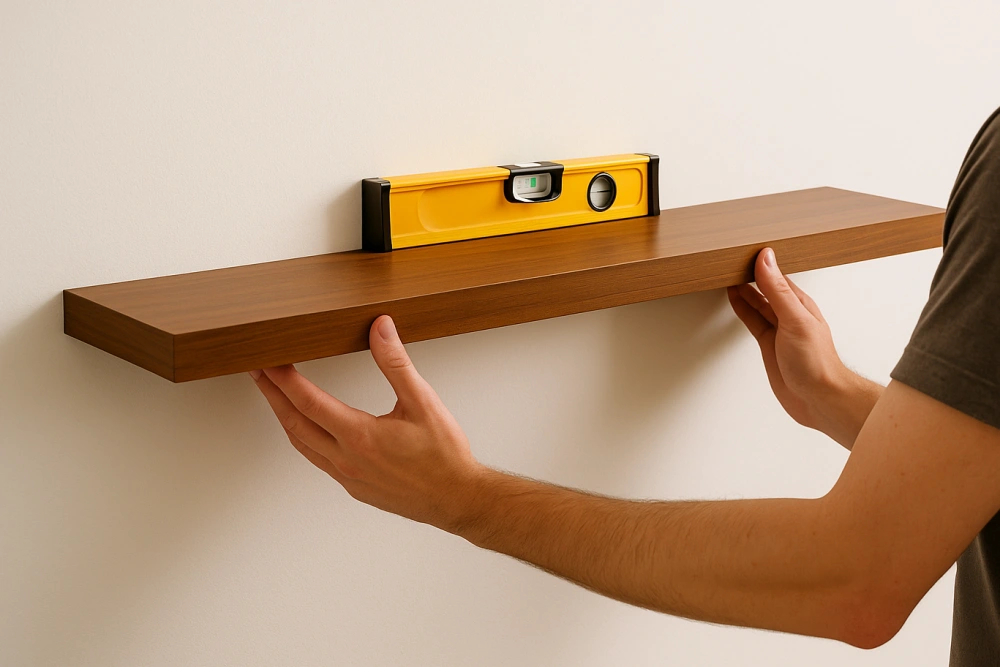
Step 4: Mount the Shelf
- Remove the wall-facing backing from the Command Strips.
- Press the shelf against the wall at the desired location.
- Use a level to ensure it’s straight.
- Push and hold the shelf against the wall for 30–60 seconds, applying even pressure.
If needed, mark the spot lightly with a pencil beforehand.
Step 5: Let It Set
For the strongest hold:
- Remove the shelf by gently pulling it off, leaving the strips on the wall.
- Press each wall strip firmly for another 30 seconds.
- Wait 1 hour for adhesive to cure.
- Reattach the shelf by aligning it with the strips.
This process maximizes adhesion.
Step 6: Decorate Carefully
Stick to lightweight decor only:
- Small potted plants (faux or real under 1 lb)
- Picture frames
- Books (only 1–2)
- Candles, vases, small figures
Avoid leaning or pushing on the shelf unnecessarily.

Pros and Cons of Hanging Shelves with Command Strips
| Pros | Cons |
|---|---|
| No drilling or wall damage | Limited weight capacity |
| Ideal for rentals or temporary setups | Not suitable for heavy items |
| Quick and easy to install | May not work on textured walls |
| Clean, hardware-free appearance | Can lose adhesion in humid environments |
Hanging Shelves with Command Strips – Tips for Best Results
- Avoid placing near heat or moisture (e.g. above stove or humid bathroom).
- Always check the total weight including decorations.
- Use a level every time to avoid redoing installation.
- Replace Command Strips every few months for best adhesion.
Final Thoughts
If you want a smart and stylish way to add floating shelves without tools, Command Strips offer an ideal solution. They’re fast, damage-free, and perfect for renters, students, or anyone looking to skip the drill.
Just remember: keep it lightweight, follow the prep steps, and allow adhesive time to cure—and you’ll have a shelf that’s as dependable as it is decorative.