Building a tree bookshelf from scratch combines woodworking skills with artistic vision, creating a functional piece that transforms your living space. Unlike standard shelving, tree bookshelves mimic natural branch formations, requiring careful planning before cutting your first board. American homeowners increasingly choose DIY projects like this because they control quality, customize dimensions to fit specific spaces, and save 40-60% compared to retail alternatives.
The fundamental design of bookshelf that looks like a tree features a central “trunk” with horizontal “branches” extending outward to form shelves. The asymmetrical, organic appearance distinguishes these pieces from conventional furniture while providing surprisingly practical storage capacity.
Read more: Tree Bookshelf DIY
Essential Materials and Tools for Your Tree Bookshelf Project

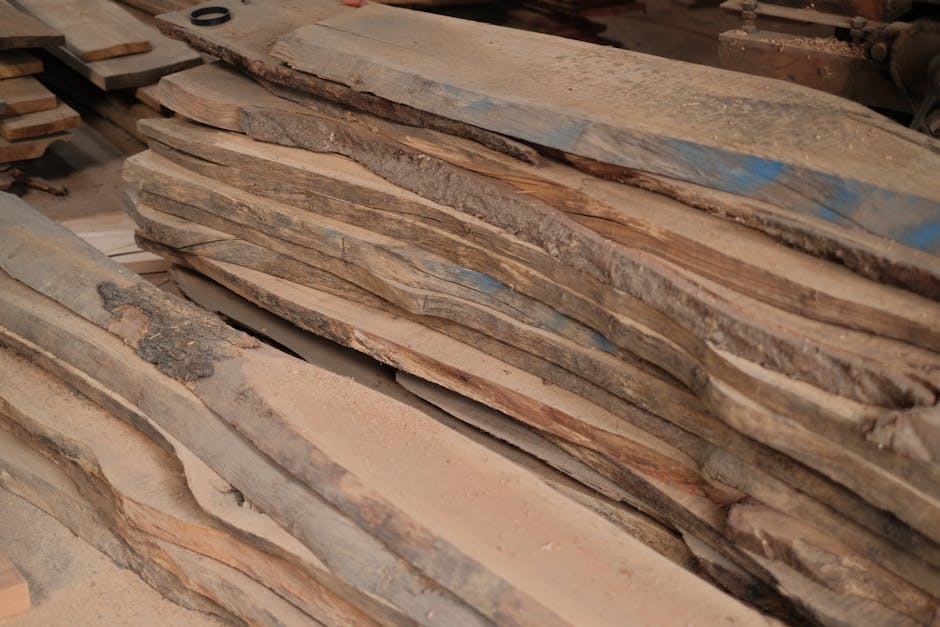
Quality materials determine both the appearance and longevity of your finished piece. For the trunk and structural elements, select 3/4-inch hardwood plywood or solid wood boards. Oak, maple, and walnut work exceptionally well for American climate conditions, resisting warping while providing durability that lasts decades.
Materials checklist:
- Two 4’x8′ sheets of 3/4″ hardwood plywood (for trunk and shelves)
- Wood glue (Titebond III recommended for superior strength)
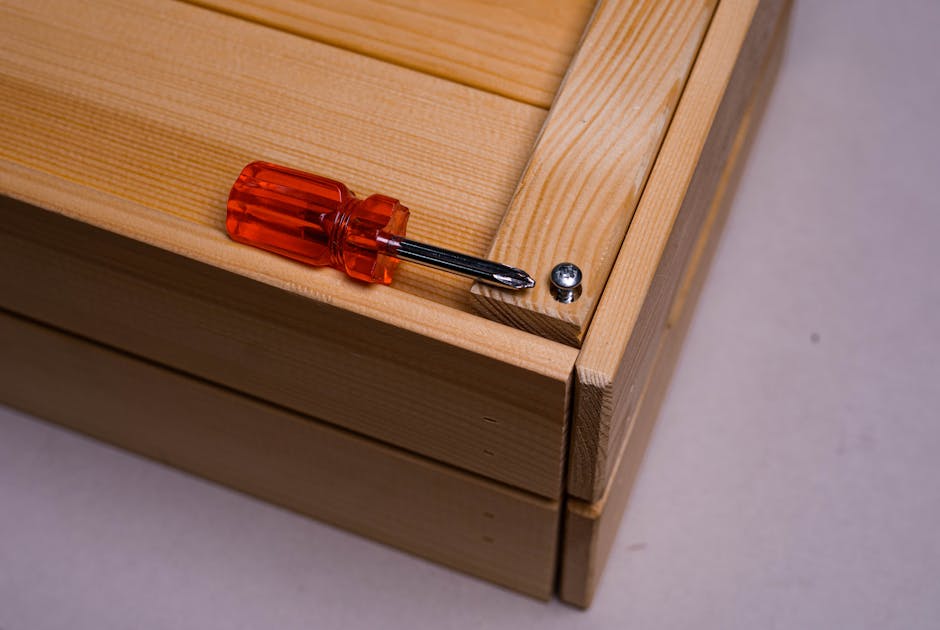
- 1-1/4″ wood screws (at least 50 count)
- Wood filler matching your chosen species
- Sandpaper (80, 120, 220 grit progression)
- Polyurethane or Danish oil finish
- Wall anchors and mounting hardware
Required tools:
- Table saw or circular saw with straightedge guide
- Jigsaw for curved cuts
- Router with 1/4″ straight bit (for dado joints)
- Drill/driver with bit set
- Clamps (at least four 24″ bar clamps)
- Level and measuring tape
- Orbital sander
Step-by-Step DIY Tree Bookshelf Plans
Phase 1: Creating Your Design Blueprint

Start by measuring your intended installation space. Most tree bookshelves range from 5 to 7 feet tall and 3 to 4 feet wide at the broadest point. Sketch your design on graph paper, using 1 square = 6 inches for accurate scaling. Mark shelf positions at varying heights—typically 12-16 inches apart—creating visual interest while maintaining functionality.
Consider weight distribution carefully. Position larger, deeper shelves lower on the trunk where structural support is strongest, with progressively smaller shelves ascending toward the top. This mimics natural tree growth while ensuring your bookshelf handles the weight of hardcover books safely.
Phase 2: Cutting the Trunk Components
The trunk requires substantial strength. Cut three strips of plywood measuring 7 inches wide by 96 inches long. Using wood glue applied evenly across surfaces, laminate these strips together, creating a 2.25-inch thick trunk. Clamp securely and allow 24 hours for complete curing.
Once dried, trace your trunk outline—slightly tapered from bottom to top for natural appearance. A 7-inch width at the base tapering to 5 inches at the top works well for most designs. Cut along your traced line with a jigsaw, then sand all edges smooth starting with 80-grit and progressing to 220-grit.
Phase 3: Preparing Shelf Branches
Cut individual shelf boards from your remaining plywood. Shelves should vary in length—typically ranging from 18 to 30 inches—with depths between 6 and 10 inches. Round the outer corners slightly with your jigsaw to soften the geometric appearance and enhance the organic tree aesthetic.
Similar to the approach used in space-saving tree bookshelf designs, angle some shelves at 5-10 degrees to create dynamic visual flow. This slight tilt prevents the monotony of perfectly horizontal lines while remaining functional for book storage.
Phase 4: Cutting Dado Joints
Professional-grade tree bookshelves use dado joints where shelves meet the trunk. These grooves provide significantly stronger connections than simple butt joints. Using your router with a straight bit, cut dados 3/8-inch deep into the trunk face at each marked shelf position.
Match dado width precisely to your plywood thickness—typically 3/4 inch. Test-fit each shelf into its corresponding dado, adjusting if necessary for snug friction fits. Proper dado joints eliminate the need for visible brackets, maintaining clean lines throughout your design.
Phase 5: Assembly Process
Dry-fit all components before applying adhesive to confirm proper alignment. Once satisfied, apply wood glue generously into dados and on shelf ends. Insert each shelf, tapping gently with a rubber mallet if needed. Reinforce joints with 1-1/4-inch screws driven from the backside of the trunk at 45-degree angles into shelf ends—two screws per shelf minimum.
Work from bottom to top, allowing each glued joint to set 30 minutes before installing the next shelf. This prevents shifting during assembly. Wipe excess glue immediately with a damp cloth to avoid finish problems later.
Finishing Techniques for Professional Results
After assembly completion, fill all visible screw holes with wood filler matching your selected species. Once dried (typically 2 hours), sand filled areas flush with surrounding surfaces using 220-grit paper.
Complete surface preparation by sanding the entire piece with 220-grit, working with the grain. Remove all dust thoroughly with a tack cloth before applying finish.
For natural wood appearance, apply three coats of Danish oil, allowing 8-hour drying between coats. For enhanced durability matching the longevity of vintage reclaimed wood console tables, use water-based polyurethane. Apply thin coats with a quality brush, sanding lightly with 320-grit between coats. Three coats provide excellent protection for daily use.
Installation and Wall Mounting
Tree bookshelves require secure wall mounting to prevent tipping hazards. Locate wall studs using a stud finder, marking positions with painter’s tape. Your trunk should attach to at least two studs for adequate support.
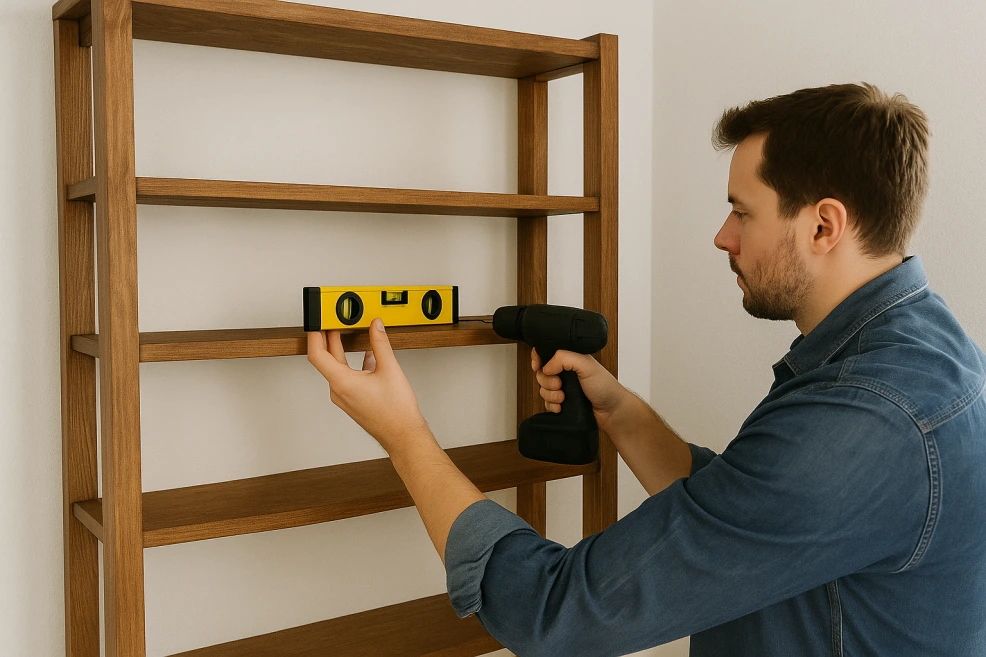
Drill pilot holes through the trunk back approximately 12 inches from top and bottom. Use 3-inch lag screws with washers driven directly into studs. For drywall-only sections, install heavy-duty toggle bolts rated for at least 50 pounds each.
Check level during installation, shimming behind the trunk if necessary to achieve perfect vertical alignment. Once mounted, test stability by applying moderate forward pressure before loading books.
Design Variations and Customization Ideas
Adapt these basic DIY tree bookshelf plans to match your specific space and aesthetic preferences. Consider these popular variations:
Corner configurations: Angle the trunk diagonally across a corner, extending shelves along both adjacent walls. This maximizes underutilized corner space while creating dramatic visual impact.
Double-sided designs: Add shelves to both trunk faces, creating a room divider that provides storage from both sides. This works exceptionally well in open-concept layouts.
Mixed materials: Combine solid wood shelves with metal brackets shaped like small branches for industrial-organic fusion similar to fireplace floating shelves installations.
Integrated lighting: Route channels in the trunk back for LED strip lighting, illuminating shelves from behind for evening ambiance and functionality.
Common Mistakes to Avoid
First-time builders often underestimate the importance of proper clamping during glue-ups. Insufficient pressure results in weak joints that fail under load. Invest in quality clamps and use them generously.
Another frequent error involves rushing the finishing process. Each coat must dry completely before sanding and recoating. Patience during finishing separates amateur results from professional-grade appearance.
Finally, never skip the wall anchoring step. Even well-balanced tree bookshelves become top-heavy when fully loaded with books, creating serious tipping risks in homes with children or pets.
Maintenance and Long-Term Care
Properly constructed tree bookshelves require minimal maintenance. Dust regularly with microfiber cloths, and clean spills immediately with barely damp cloths followed by immediate drying. Avoid commercial furniture polishes containing silicone, which build up and attract dust.
Reapply Danish oil annually if you chose that finish, or refresh polyurethane surfaces every 3-5 years depending on wear. Inspect wall mounting hardware annually, tightening screws as needed.
Cost Analysis and Time Investment
Materials for a standard tree bookshelf cost $150-250 depending on wood species and finish quality. Comparable retail pieces range from $400-800, making DIY construction financially worthwhile beyond the satisfaction of building your own furniture.
Expect 12-16 hours of actual work time spread across 3-4 days when accounting for drying times. Experienced woodworkers complete projects faster, while beginners should allow extra time for learning curves.
Taking Your Tree Bookshelf Project From Plans to Reality
Building your own tree bookshelf transforms raw materials into a functional art piece that showcases both your books and woodworking abilities. These DIY tree bookshelf plans provide the foundation, but your personal touches—wood selection, shelf arrangement, and finishing choices—create a truly unique piece.
The skills you develop through this project translate to countless future woodworking endeavors. You’ll gain confidence in joinery techniques, finish application, and spatial design that serves you well whether building floating bookshelf designs or tackling larger furniture projects.
Start with careful planning, invest in quality materials, and take your time with each step. The result will be a conversation-starting bookshelf that serves your family for generations while demonstrating the enduring value of American craftsmanship.