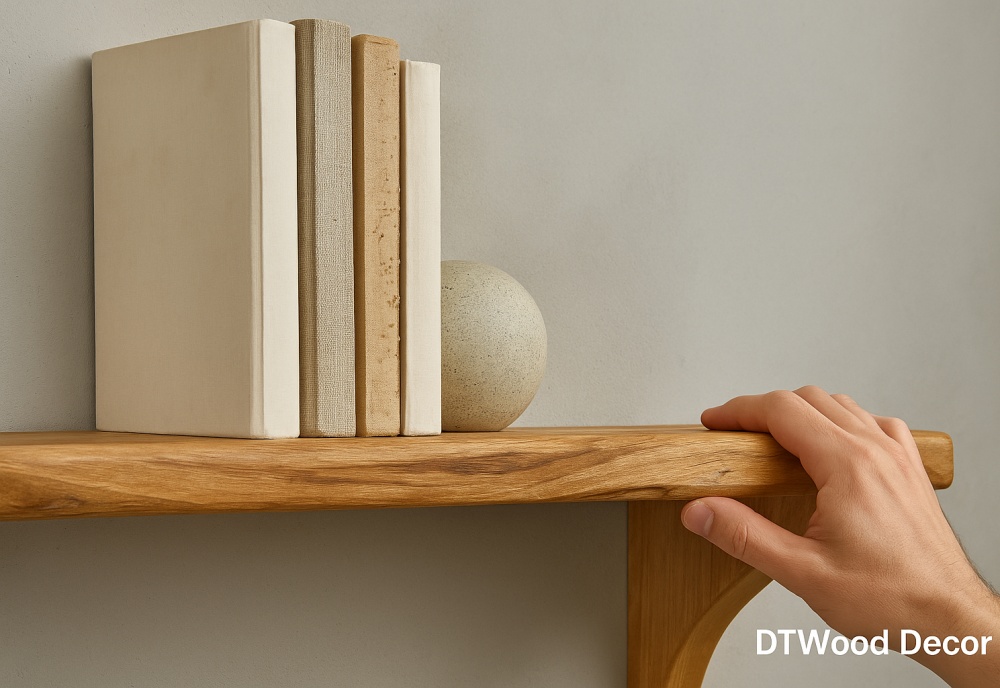
A beautifully handcrafted wooden bookshelf is more than just a piece of furniture—it’s a statement of craftsmanship, design, and personality. But no matter how stunning or sturdy it may be, an unsecured bookshelf can pose serious safety risks, especially in homes with children, pets, or in earthquake-prone areas.
At DTWood Decor, where every piece is thoughtfully designed and expertly handmade, we understand the value of both aesthetics and safety. That’s why we’ve put together this comprehensive guide on how to secure a bookshelf to the wall—ensuring your custom-built shelf not only looks good, but stands firm and safe.
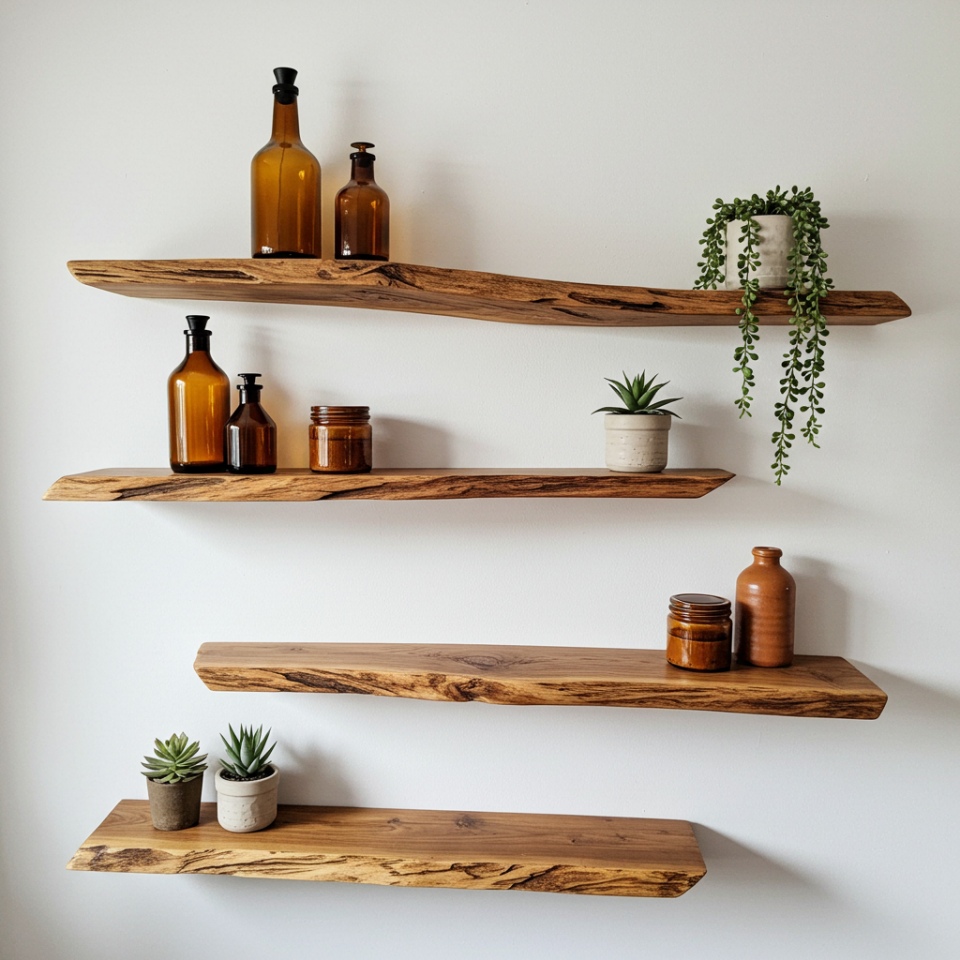
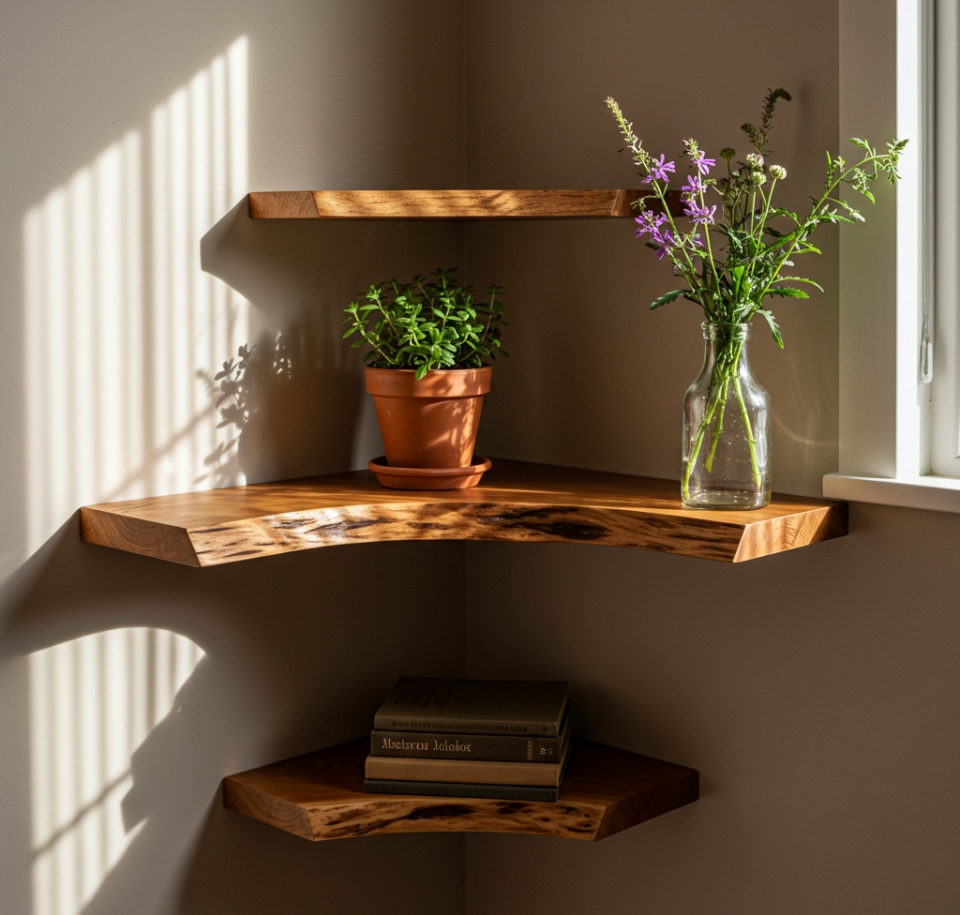
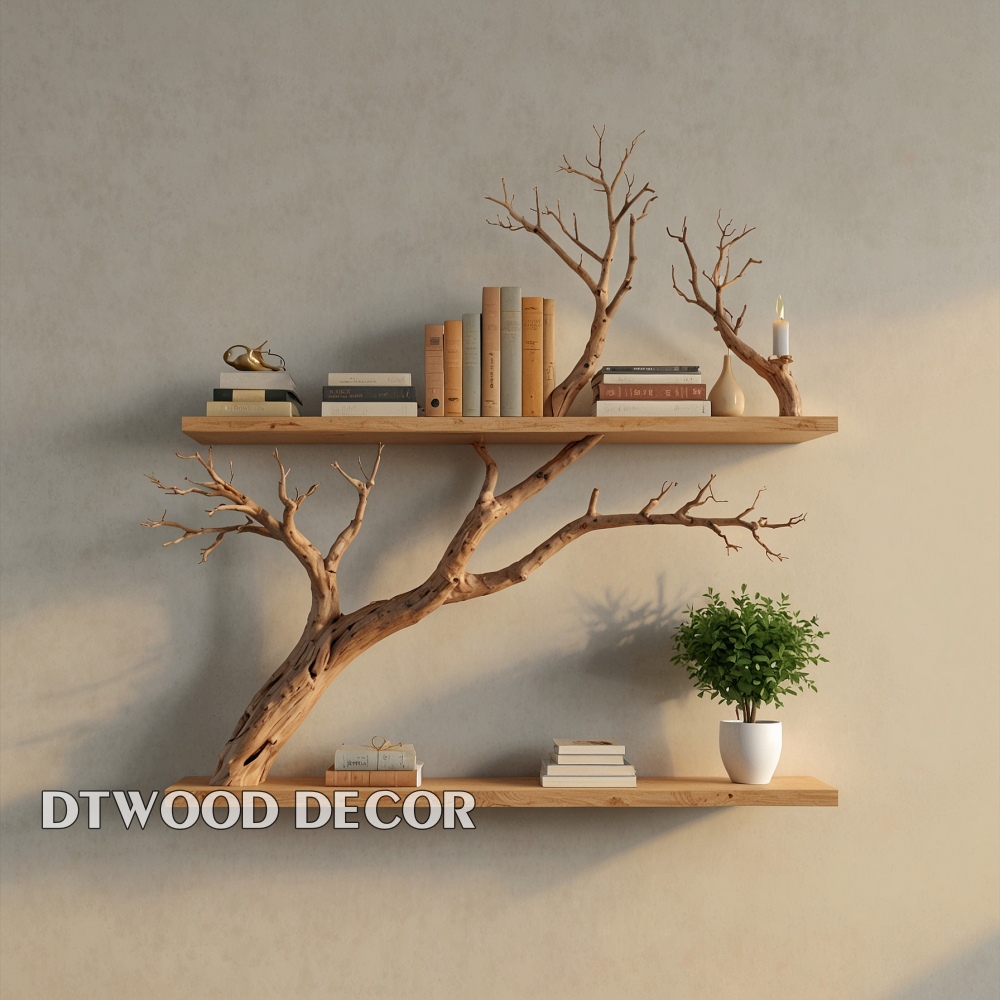
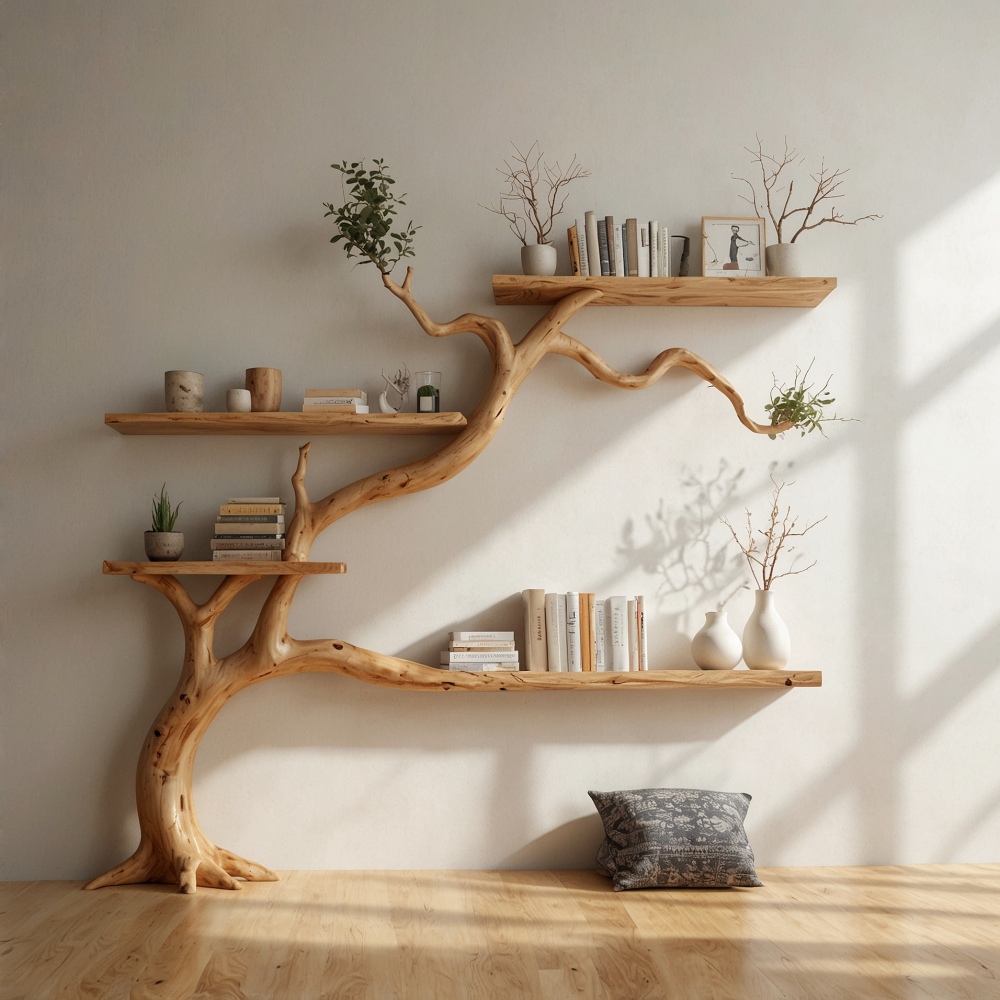
See more Tree Bookshelves by DTWood Decor
Why Securing a Bookshelf Matters
Even a well-balanced bookshelf can tip over under the right (or wrong) circumstances:
- A curious toddler climbing the shelves
- A heavy item stored too high
- An unexpected bump or vibration
By anchoring your bookshelf to the wall, you’re preventing potential accidents, protecting your furniture, and extending its lifespan. It’s an easy win—and takes less than an hour if you’re prepared.
What You’ll Need
Before starting, gather the necessary tools and materials:
Tools:
- Stud finder
- Drill and drill bits
- Screwdriver
- Level
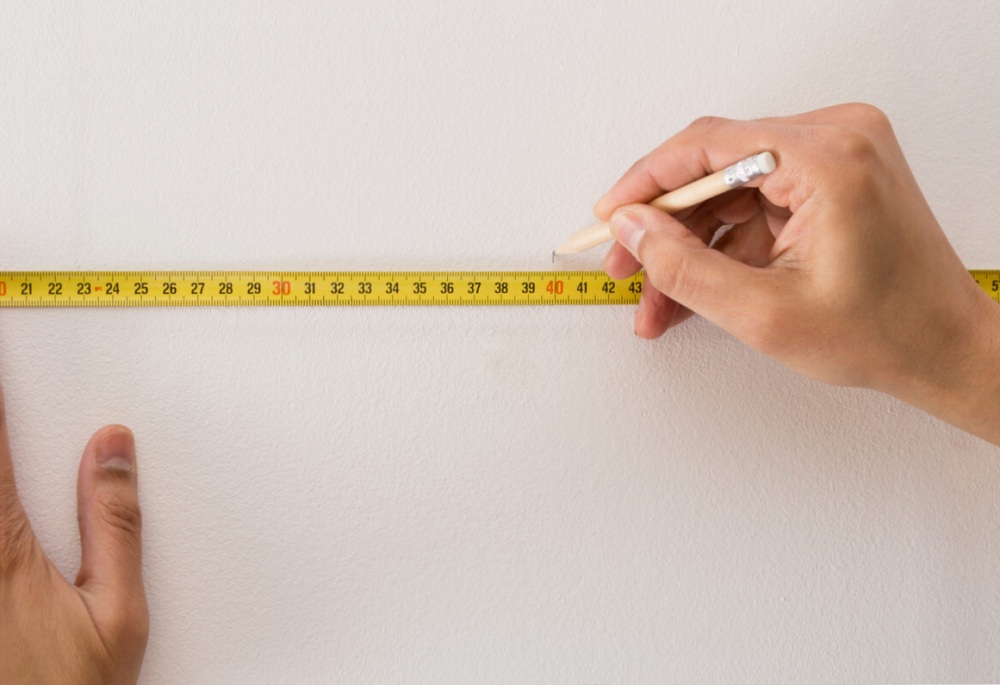
- Measuring tape
- Pencil
Materials:
- Anti-tip furniture straps or L-brackets
- Wall anchors (if no studs are found)
- Wood screws
- Washers (optional for added grip)
Pro tip: At DTWood Decor, we often pre-design hidden bracketing solutions for custom bookshelves. If yours has this feature, follow the specific instructions included.
Step-by-Step: How to Attach a Bookshelf to a Wall
Below are 7 steps you can follow to attach a bookshelf to your wall. If you have any question, feel free to ask us by leaving a comment.

Step 1: Position Your Bookshelf
Place the bookshelf in its final location. If your space is tight or your shelf is heavy, get help to prevent damage to the piece—or your back. Make sure it’s level and flush with the wall before proceeding.
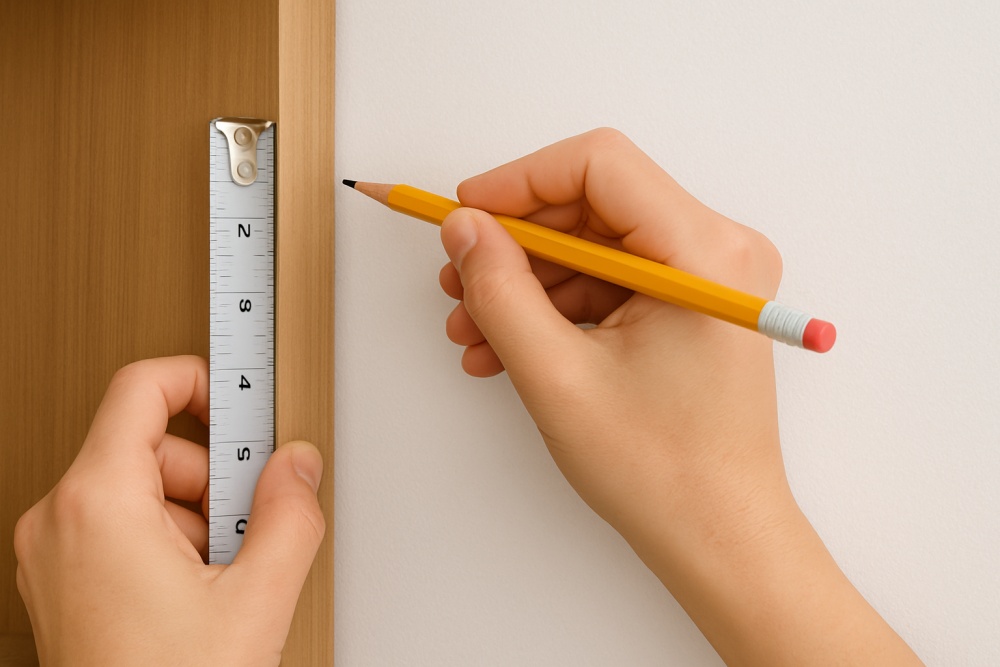
Step 2: Locate the Wall Studs
Use a stud finder to locate the wooden studs in your wall. Mark them lightly with a pencil.
- Why studs? Because they provide the strongest anchor point.
- If you can’t find studs where you need them, you’ll need to use wall anchors appropriate for your wall type (drywall, plaster, etc.)
Step 3: Mark Anchor Points on the Bookshelf
Depending on the anchoring method you choose, mark where you’ll attach the L-brackets or furniture straps:
- Top-Mount Brackets: Attach to the top edge of the bookshelf and into the wall.
- Back-Mount Straps: Attach to the upper rear panel of the bookshelf.
Ensure these points align with the wall studs if possible. Use a level to ensure symmetry.
Step 4: Pre-Drill Holes
Using a drill bit slightly smaller than your screws, pre-drill holes into both the wall and the bookshelf (if required). This reduces the risk of wood splitting and ensures the screw drives cleanly.
If you’re drilling into drywall and not hitting a stud, install wall anchors in place.
Step 5: Attach Brackets or Straps
Secure your hardware:
- Use wood screws to attach the bracket or strap to the bookshelf.
- Use longer screws for wall installation (especially when hitting studs).
- Add washers if needed to increase holding strength.
Ensure the bracket is snug, but don’t overtighten and strip the screws.
Step 6: Double-Check Level & Stability
Once everything’s installed, step back:
- Use a level to check that the shelf is still perfectly horizontal.
- Lightly shake the shelf to ensure it’s firmly anchored.
- Add felt pads under the bookshelf feet if needed for floor leveling.
Step 7: Conceal or Decorate the Hardware (Optional)
At DTWood Decor, we love blending function with form. If your bracket is visible and you’d prefer a cleaner look, consider:
- Wood covers or plugs
- Matching paint or stain
- Decorative accessories like vases or books to hide the mounting points
This is your chance to let design and practicality meet in harmony.
Attach a Bookshelf to Wall – Alternative Anchoring Methods
1. French Cleat System
Great for wall-mounted bookshelves or tree-style shelves. This involves two interlocking angled wood strips—one attached to the wall, the other to the furniture.
2. Metal Furniture Anchors
Designed for safety, especially in childproofing situations. These are often easier to install and less visually intrusive.
3. Built-In Bracketing
Some custom bookshelves (including ours) come with pre-engineered mounting grooves. Always follow the maker’s guidance here for the safest and most attractive installation.
Safety Tips & Maintenance
- Inspect annually to ensure hardware remains tight.
- If moving your bookshelf, reinstall the anchors at the new location.
- Avoid placing extremely heavy items near the top. Keep heavier items closer to the base.
- For rental homes, consider removable anti-tip kits that don’t damage walls.
When Should You Call a Professional?
If your wall type is non-standard (e.g., brick, plaster, tile) or if the bookshelf is unusually large or heavy, it’s wise to get professional help.
At DTWood Decor, we also offer guidance for installing our custom pieces—just reach out and we’ll support you step-by-step.
A Final Word from the Workshop
Securing your bookshelf doesn’t mean sacrificing style—it means celebrating it with peace of mind.
A handcrafted bookshelf deserves to be enjoyed safely for generations. With a few tools, a careful eye, and this guide by your side, you can anchor beauty—and safety—right into your wall.
Whether you’re showcasing treasured novels, handmade ceramics, or a mix of modern and rustic charm, your bookshelf should stand tall, proud, and secure.
Want more woodworking and home styling tips?
Explore our blog at DTWoodDecor, or browse our latest handcrafted furniture and floating shelf collections.