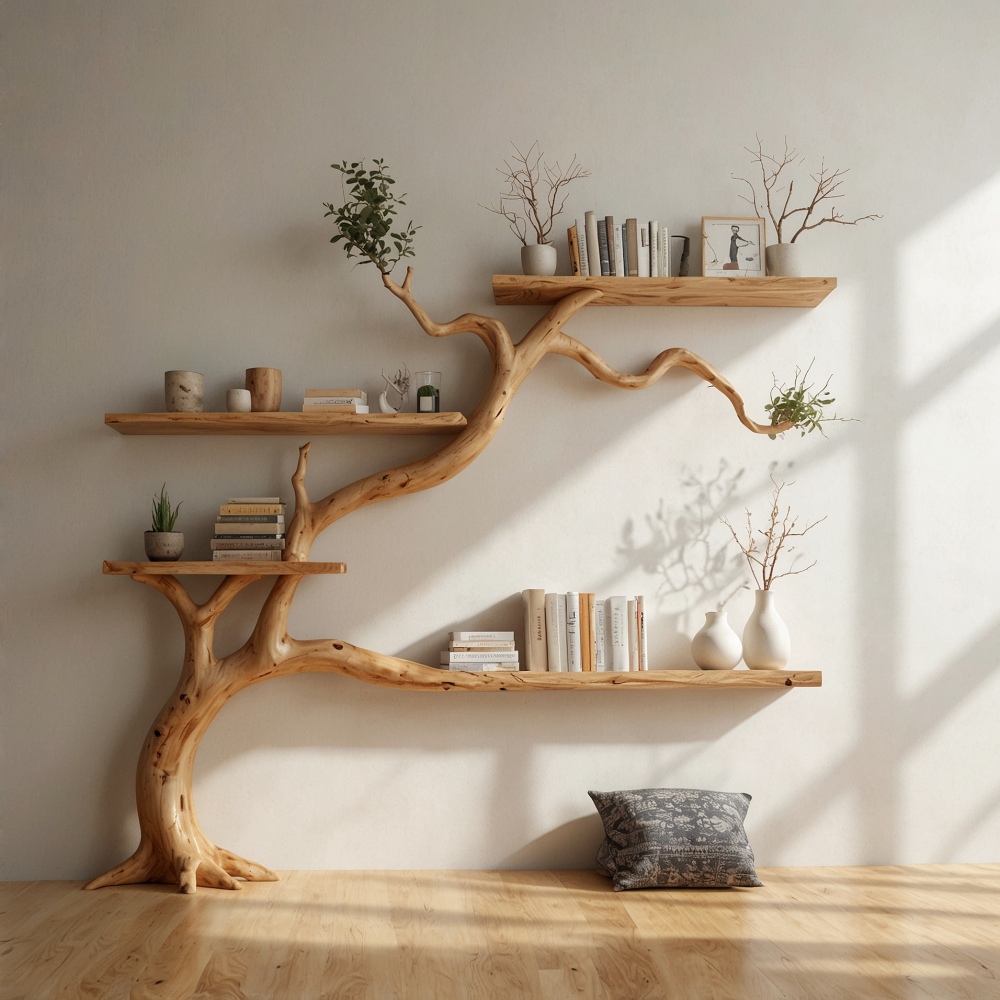
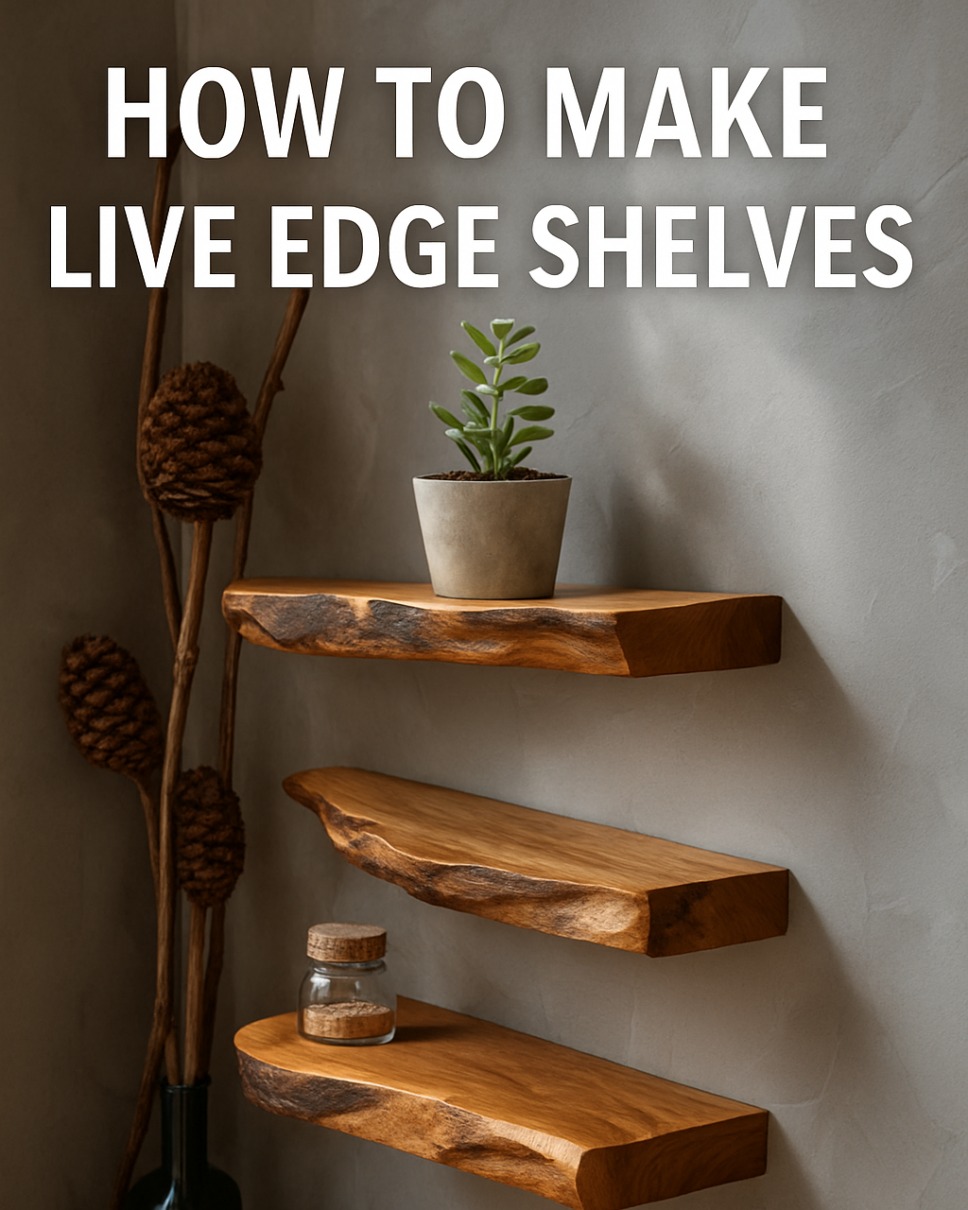
If you’re drawn to the raw, organic beauty of nature, live edge shelves might be just what your space needs. Combining rustic charm with modern elegance, live edge shelves highlight the natural contours of wood, turning every piece into a one-of-a-kind statement. Whether you’re decorating a cozy reading nook or upgrading your entryway, these shelves bring warmth, texture, and timeless craftsmanship to any room.
In this guide, DTWood Decor will walk you through how to make live edge shelves from scratch—covering everything from sourcing the right wood slab to mounting it securely on the wall.
What Are Live Edge Shelves?
Live edge refers to the natural edge of the wood slab that’s left uncut or only lightly sanded, preserving the original lines, knots, and curves. Each shelf is unique, often featuring dramatic grain patterns and organic shapes that you just can’t replicate with factory-cut boards.
Our products: Rustic Live Edge Floating Shelf
Tools and Materials You’ll Need
Before diving into the process, gather the following tools and materials:
Materials:
- Live edge wood slabs (walnut, oak, cedar, or acacia are great options)
- Wall brackets or floating shelf hardware
- Wood filler (optional)
- Wood finish: oil, wax, or polyurethane
- Sandpaper (grits 80, 120, 220)
- Screws, anchors, and wall plugs
Tools:
- Orbital sander or sanding block
- Circular saw (if trimming is needed)
- Drill and level
- Wood planer (optional, for uneven slabs)
- Tape measure and pencil
- Safety gear (gloves, goggles, dust mask)

Step-by-Step: How to Make Live Edge Shelves
Step 1: Choose and Prepare the Wood
Head to your local lumber yard or a reclaimed wood supplier and choose a live edge slab that fits your space. Look for straight grain, minimal warping, and character-rich edges. Keep in mind the shelf depth (8–12 inches is common).
Pro Tip: Avoid wood that’s too green (wet). Kiln-dried or air-dried wood is more stable and less prone to cracking.
Trim the length with a circular saw if needed, but preserve the live edges as much as possible.
Step 2: Flatten and Sand the Surface
If the wood slab is uneven, run it through a planer or use a belt sander to level it. Then, sand thoroughly:
- Start with 80 grit to remove rough spots
- Move to 120 grit for smoothing
- Finish with 220 grit for a soft, touchable surface
Don’t forget to sand the live edge carefully—just enough to remove splinters, but not too much to lose its natural beauty.
Step 3: Fill Cracks or Holes (Optional)
If your wood has small cracks or knots, use a wood filler or epoxy resin to stabilize the area. You can even tint the filler to match or contrast with the wood tone. Let it cure fully before continuing.
Step 4: Apply Finish
This step brings the wood to life. Depending on the look you want:
- Use tung oil or Danish oil for a natural, matte sheen
- Use polyurethane for a tougher, glossier finish
- Use wax for a soft, vintage texture
Apply your finish with a lint-free cloth or brush. Let dry fully and apply 2–3 coats, sanding lightly with 400 grit between coats for a smooth surface.
Step 5: Install the Hardware
Choose from:
- Floating shelf brackets (hidden hardware for a clean look)
- L brackets (visible and industrial)
- French cleats (strong and removable)
Mark your wall studs, drill pilot holes, and attach the hardware level. Then screw the shelf onto the bracket from underneath or behind, depending on your system.
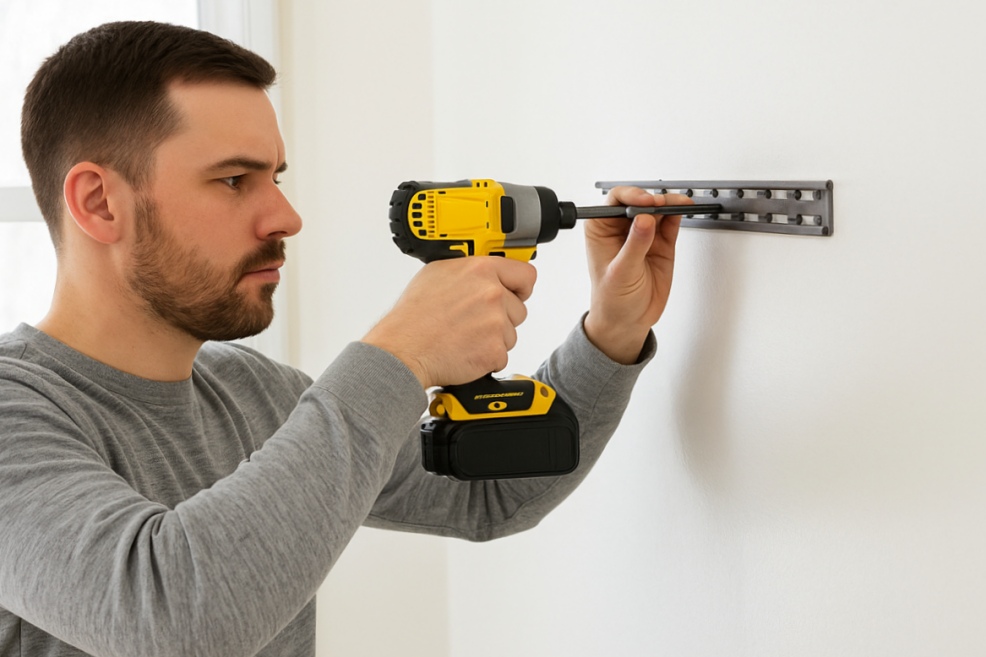
TIP: Use a stud finder and level to ensure maximum strength and straight lines—especially if you’re mounting multiple shelves in a row.
Step 6: Decorate and Style
Now the fun part—styling your new live edge shelves! Mix and match:
- Potted plants or succulents
- Framed photos or art
- Handmade pottery
- Books and candles
Keep it balanced: vary the heights, shapes, and textures for a designer-approved look.

Maintenance Tips
Live edge shelves are low-maintenance, but a little care goes a long way:
- Dust regularly with a soft cloth
- Avoid excessive moisture and direct sunlight
- Reapply oil finish once or twice a year to keep the wood hydrated
Why Make Your Own Live Edge Shelves?
- Customization: Size, species, and finish tailored to your taste
- Sustainability: Use reclaimed or responsibly sourced wood
- Pride of Craftsmanship: There’s nothing like making your own furniture
Plus, you’ll have a functional piece of art that tells a story—your story.
Final Thoughts
Whether you’re a seasoned woodworker or an ambitious DIYer, learning how to make live edge shelves is a rewarding project that adds depth and personality to your home. With the right tools, a bit of patience, and a creative spirit, you’ll end up with shelves that not only hold things—but hold meaning. You can also to see our products: Corner Floating Shelves