Are you dreaming of a rustic, beachy centerpiece that brings the charm of nature right into your living room? A driftwood coffee table is not only a conversation starter, but it’s also a functional piece of art you can create with your own hands. Whether you’re a seasoned DIYer or just dipping your toes into the world of woodworking, this beginner-friendly guide will walk you through each step — from collecting driftwood to sealing your masterpiece – your DIY driftwood coffee table.

Let’s roll up those sleeves and get building!
🌿 Why Choose Driftwood?
Driftwood is naturally weathered by sun, saltwater, and time, making each piece completely unique. It adds organic texture and a coastal vibe that works beautifully with farmhouse, boho, and minimalist interiors. Plus, using driftwood is eco-friendly — you’re repurposing nature’s leftovers into something beautiful and useful.
🛠️ What You’ll Need for A DIY Driftwood Coffee Table
Materials:
Driftwood pieces (variety of sizes, cleaned and dried)
A solid glass tabletop or reclaimed wood top
Wood screws or construction adhesive
Sandpaper (various grits)
Wood filler (optional)
Wood sealer or polyurethane
Felt pads (to protect your floor)
Tools:
Electric drill
Saw (hand saw or jigsaw)
Clamps
Measuring tape
Pencil
Gloves and dust mask (safety first!)
Step 1: Gather and Clean Your Driftwood
Where to Find Driftwood:
Beaches, lakeshores, or riversides (check local regulations for collecting driftwood)
Landscaping or garden stores
Online driftwood suppliers

How to Clean:
Soak in Water – Submerge your driftwood in a large container of water (a tub or bucket) for 24-48 hours to remove salt and dirt.
Scrub Down – Use a stiff-bristle brush to scrub off grime, algae, or moss.
Disinfect – Soak driftwood in a bleach solution (1 part bleach to 9 parts water) for 1 hour.
Dry Completely – Let the pieces dry in the sun for at least a week. This prevents cracking and mold later on.
✏️ Step 2: Plan Your Design
Think of your coffee table base like a sculpture. Some popular design ideas:
Tripod: Three thick driftwood branches intersecting to form a sturdy base.
Crisscross: Interlaced driftwood in an X-shape for support.
Stacked Logs: Horizontal logs stacked like Lincoln Logs for a more rustic look.
Lay out your pieces on the floor and play with the arrangement until it feels balanced and stable. Take pictures from different angles — it helps when assembling later.
Note: you can find more ideas for your DIY coffee table from Pinterest
🔧 Step 3: Trim and Sand
Once you’ve chosen your driftwood pieces:
Cut – Trim ends as needed using a saw for an even base.
Sand – Start with coarse sandpaper to remove rough spots, then switch to finer grit for a smooth finish. Focus especially on areas people will touch.

Tip: Don’t over-sand — you want to keep the weathered look intact!
🏗️ Step 4: Assemble the Base
Method 1: Screws (Best for Strong Joints)
Drill pilot holes before inserting screws to avoid splitting the wood.
Use clamps to hold pieces together while drilling.
Countersink screws slightly and fill with wood filler for a cleaner look.
Method 2: Adhesive (If You Don’t Want Visible Hardware)
Use strong construction adhesive for a clean, invisible bond.
Let it cure according to the manufacturer’s instructions (usually 24 hours).
Reinforce with small brackets or dowels if needed.
Pro Tip: Test the stability of the base before attaching the tabletop!
Step 5: Add the Tabletop to the DIY Driftwood Coffee Table
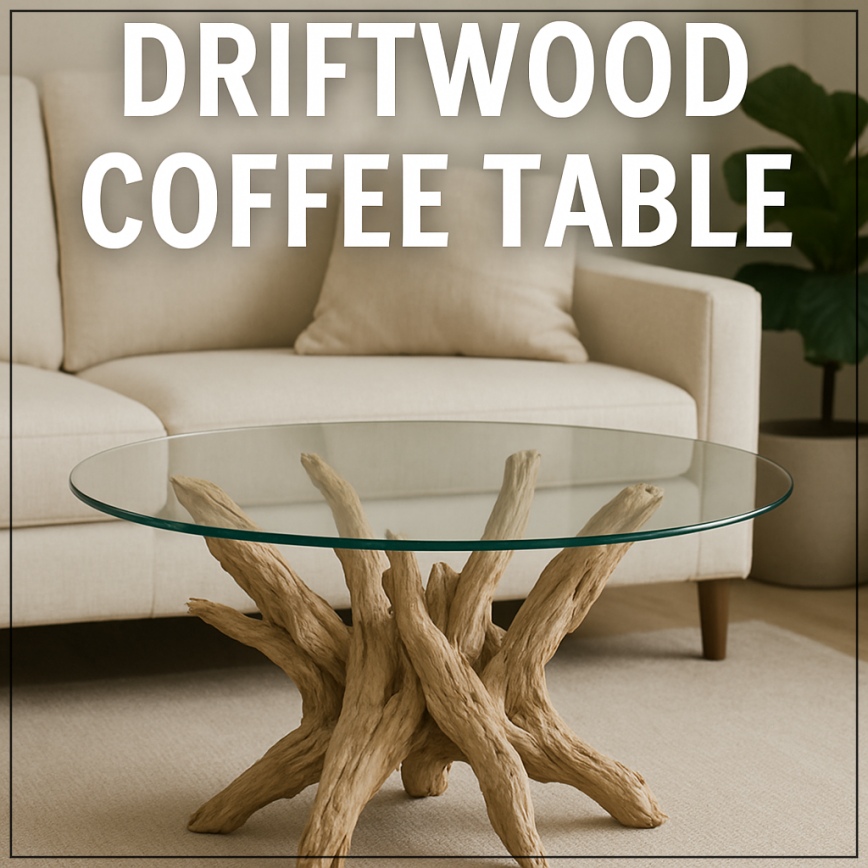
Most DIYers choose a glass top to showcase the driftwood base. You can also use reclaimed wood or stone for a different vibe.
Carefully center the glass top over the base.
Use clear silicone bumpers or suction pads to keep it in place.
For a wood top, screw it in from underneath or use L-brackets for extra support.

🧴 Step 6: Seal and Protect
To make your table last and prevent moisture damage:
Apply a clear wood sealer or matte polyurethane.
Use a brush or sponge and apply in even coats.
Let it dry completely between coats (2–3 coats recommended).
Avoid glossy finishes if you want to keep that natural look.
✅ Final Touches
Stick felt pads or rubber bumpers under the base to protect your floors.
Style your table with a candle tray, a plant, or your favorite coffee table books.
Voilà — your handmade driftwood coffee table is complete
💡 Bonus Tips for Beginners
Don’t worry about perfection — irregular shapes are part of the charm.
Start with a small side table if you’re nervous about a big project.
Document the process with photos. Not only is it fun to look back on, but it’s also great content if you want to share your project online!
✨ Wrap-Up: Nature Meets Function
A driftwood coffee table isn’t just furniture — it’s a story of time, tide, and craftsmanship. It’s your chance to bring a piece of the wild into your home, shaped by your own hands. Whether you’re after a beach house vibe or a rustic centerpiece, this table will make every coffee break feel a little more special.
So go ahead — gather, build, and enjoy!
Loved this guide? Share your DIY driftwood table creations with us — tag us on Instagram or drop a comment below. We’d love to see what you made!