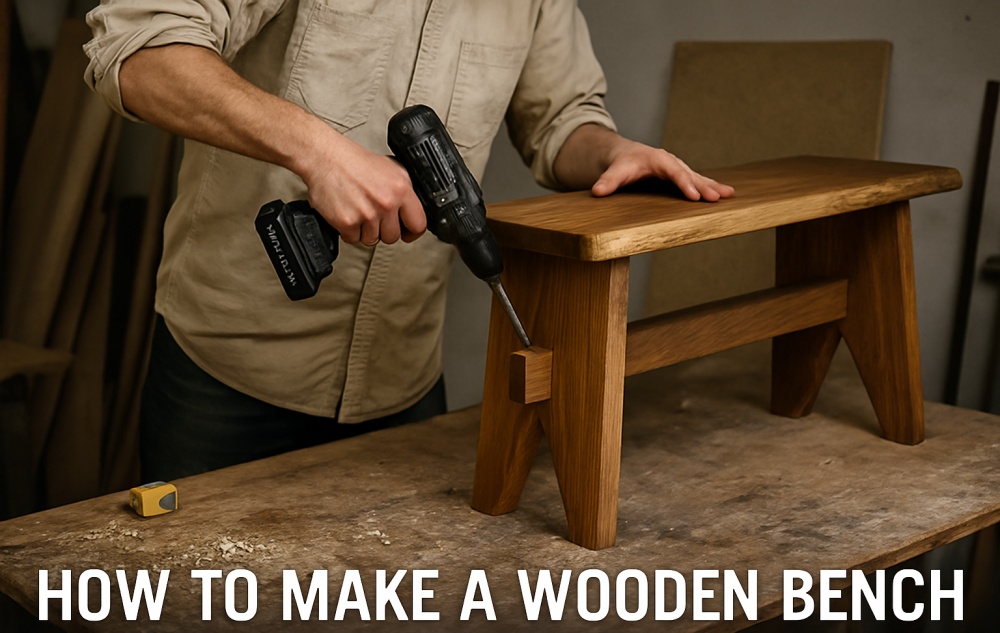
There’s something incredibly satisfying about building your own furniture—especially when it’s a piece as versatile and timeless as a wooden bench. Whether you’re furnishing an entryway, adding seating to a dining area, or styling your garden, a wooden bench offers simplicity, function, and rustic charm.
In this guide, DTWood will walk you through everything you need to know about how to make a wooden bench—from choosing materials and planning dimensions to assembling and finishing your piece like a pro.
Even if you’re a beginner, don’t worry: this project is very approachable and endlessly customizable.
Why Build Your Own Wooden Bench?
Sure, you can buy one—but here’s why DIY benches are worth the effort:
- Cost-effective: Save money by using reclaimed or raw materials.
- Custom sizing: Build to fit your exact space and style.
- Satisfaction: There’s pride in creating something with your own hands.
- Quality control: Choose real wood and sturdy construction that lasts.
Whether you’re going for a rustic farmhouse, mid-century modern, or Scandinavian minimalist look, you can make it yours.
What You’ll Need
🛠 Tools:
- Circular saw or handsaw
- Power drill
- Tape measure
- Sander or sandpaper (80–220 grit)
- Wood clamps
- Wood glue
- Level
- Optional: pocket hole jig for hidden screws
Materials:
- Solid wood (pine, oak, walnut, or reclaimed wood)
- Wood screws (2.5″ or 3″)
- Wood filler (optional)
- Wood stain or paint
- Clear polyurethane or wax finish
- Felt pads (if used indoors)
Step 1: Choose Your Wood
Hardwoods like oak, maple, or walnut offer durability and stunning grain but are heavier and pricier.
Softwoods like pine or cedar are easier to work with and great for indoor use or light outdoor seating.
For a rustic, eco-friendly approach, consider reclaimed wood with beautiful imperfections and history.
👉 Pro tip: Make sure the wood is kiln-dried and flat—not warped or split.

Step 2: Decide on Dimensions
Your bench size depends on use and placement:
- Standard Length: 36″ to 60″
- Height: 17″ to 19″ (same as dining chair height)
- Depth: 12″ to 18″
- Leg Placement: Around 4–6″ inset from each side
Sketch your design or download a simple plan online to guide your cuts.
Step 3: Cut the Pieces
For a basic rectangular bench, you’ll need:
- Top: 1 board, 1.5″ thick, your chosen length × depth
- Legs: 2 boards, 17–18″ tall
- Apron/support rails: 2 side rails (length minus 6–8″) and 1–2 cross braces (optional)
Use a circular saw for clean straight cuts, or have them pre-cut at your local hardware store.
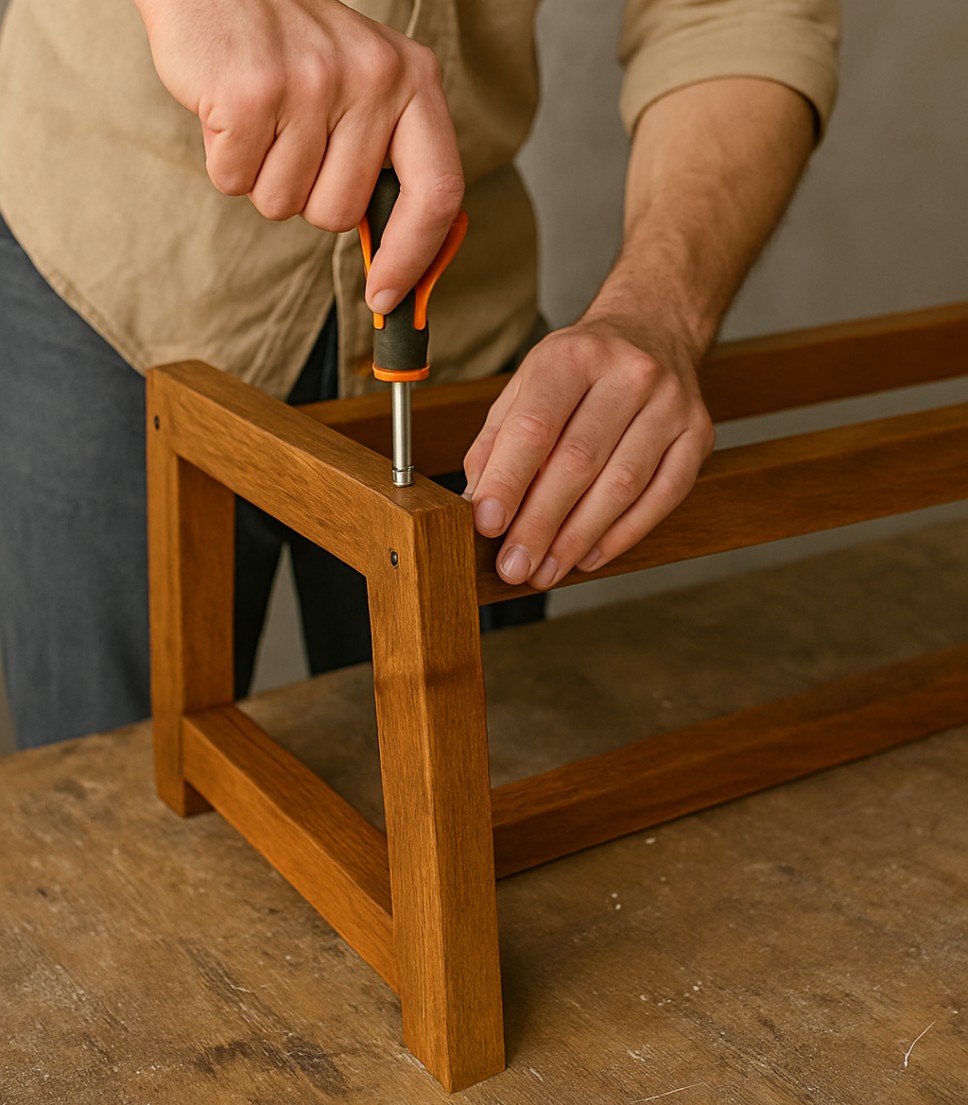
Step 4: Assemble the Frame
If you’re using an apron (support frame below the seat), here’s how:
- Attach side aprons to the legs using wood glue and 2.5″ screws.
- Use clamps and a square to ensure 90-degree angles.
- Add a center brace across the middle for extra stability (optional but recommended).
You can also build a simple plank-leg bench with no apron—just attach the legs directly beneath the top using pocket hole screws or angle brackets.
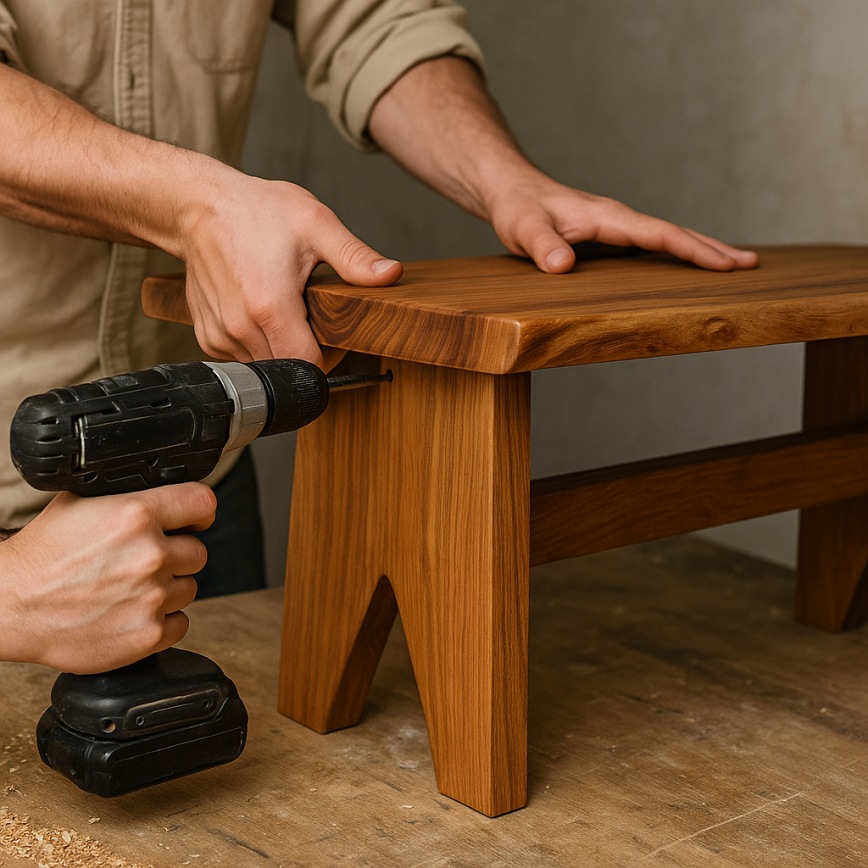
Step 5: Attach the Bench Top
Once the base is assembled:
- Place the bench top upside-down on a flat surface.
- Center the base frame or legs on top.
- Drill pilot holes and screw from underneath to avoid visible screws.
- Use clamps to hold everything in place.
Double-check that everything is square and level before final tightening.
Step 6: Sand Thoroughly
Sanding is key for both comfort and finish quality.
- Start with 80-grit to remove rough edges or marks.
- Move to 120-grit for smoothing.
- Finish with 220-grit for a soft touch.
- Round over the edges with sandpaper or a router if you prefer softer corners.
Pay extra attention to corners and the top where people will sit.
Step 7: Stain or Paint
Here’s where your bench comes to life.
For a natural look:
- Apply wood conditioner (optional) for even stain absorption.
- Use a lint-free cloth or foam brush to apply stain.
- Wipe off excess and let dry per instructions.
For a painted finish:
- Use a primer first.
- Follow with 1–2 coats of high-quality wood paint.
Let it dry completely between coats.
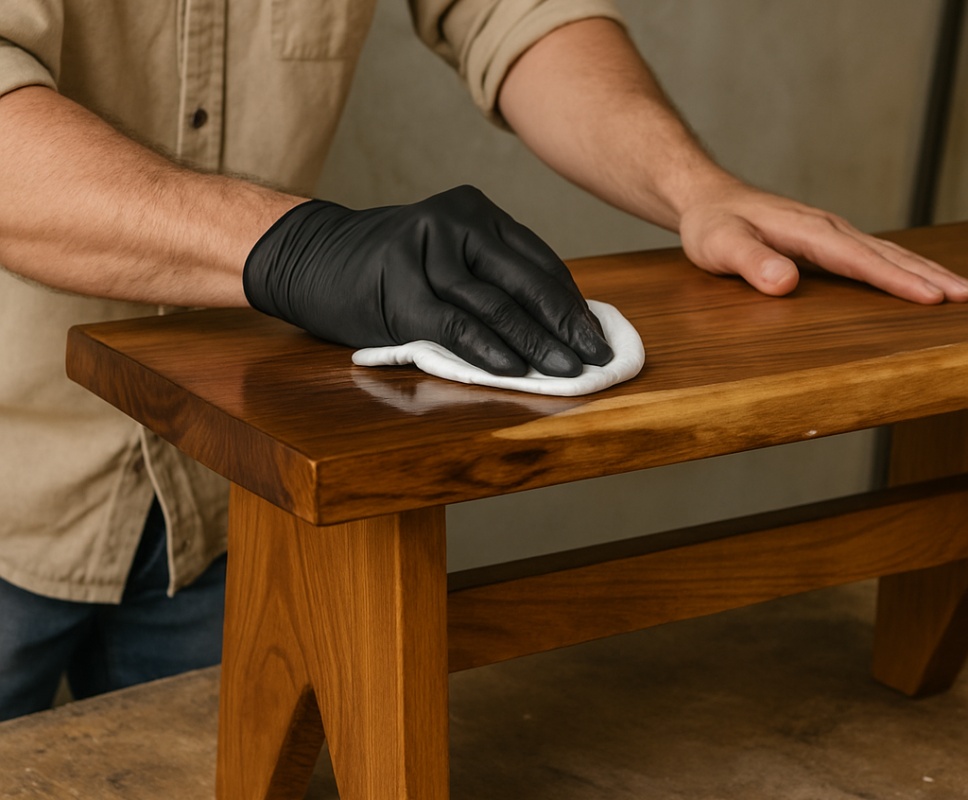
Step 8: Seal the Surface
For protection and longevity, especially if the bench will be near moisture or daily use:
- Apply polyurethane (matte, satin, or gloss) for durability.
- For a more rustic or matte look, consider furniture wax or Danish oil.
Apply 2–3 coats, lightly sanding between each with 320-grit for a smooth feel.
Bonus: Add Storage or Style Variations
Want to upgrade your design?
Add Storage:
- Install a lower shelf between the legs for shoes or baskets.
- Add a flip-top lid with internal storage space.
- Include drawers beneath with wooden glides.
Style Options:
- Live edge top for organic elegance
- Hairpin legs for a modern touch
- Painted base with stained top for contrast
- Cushioned seat with fabric upholstery
Where to Use Your DIY Wooden Bench
- Entryway: Add hooks above and baskets below.
- Dining Room: Use as dining bench seating.
- Bedroom: Perfect at the foot of the bed.
- Porch or Garden: Weatherproof and enjoy outdoors.
- Living Room: Extra seating or display surface.
This bench is a blank canvas — you can adapt it for any space!
Final Thoughts: Craft with Confidence
Now that you know how to make a wooden bench, you’re ready to build something that’s both beautiful and useful. With a little planning and patience, you’ll create a piece that lasts for years — and one that carries your personal touch.
And if you fall in love with woodworking, there’s a whole world of furniture waiting to be made — from console tables to corner shelves to coffee tables.
Want the handmade look without the tools?
If you love the charm of natural wood but prefer to leave the sawdust to the pros, explore DTWood Decor’s handcrafted bench collection — each piece is designed and made with care, using real wood and timeless joinery.
Visit DTWoodDecor.com and find the perfect wooden bench that matches your space — or request a custom size and finish made just for you.
Because a bench isn’t just a seat — it’s a piece of home.