DIY Floating Corner Shelves: A Stylish and Space-Saving Weekend Project. With our 5 steps guide you can do it yourself for your house.
Looking for a quick and rewarding home upgrade that adds charm, functionality, and a touch of modern elegance? Look no further than DIY floating corner shelves. These clever little shelves are the perfect solution for anyone who wants to make the most of unused space while adding a warm, handmade touch to any room.
Whether you’re a seasoned DIYer or a total beginner with a drill and a dream, this guide will walk you through everything you need to know—from planning to installing your own floating corner shelves. Get ready to transform that neglected corner into your new favorite spot.
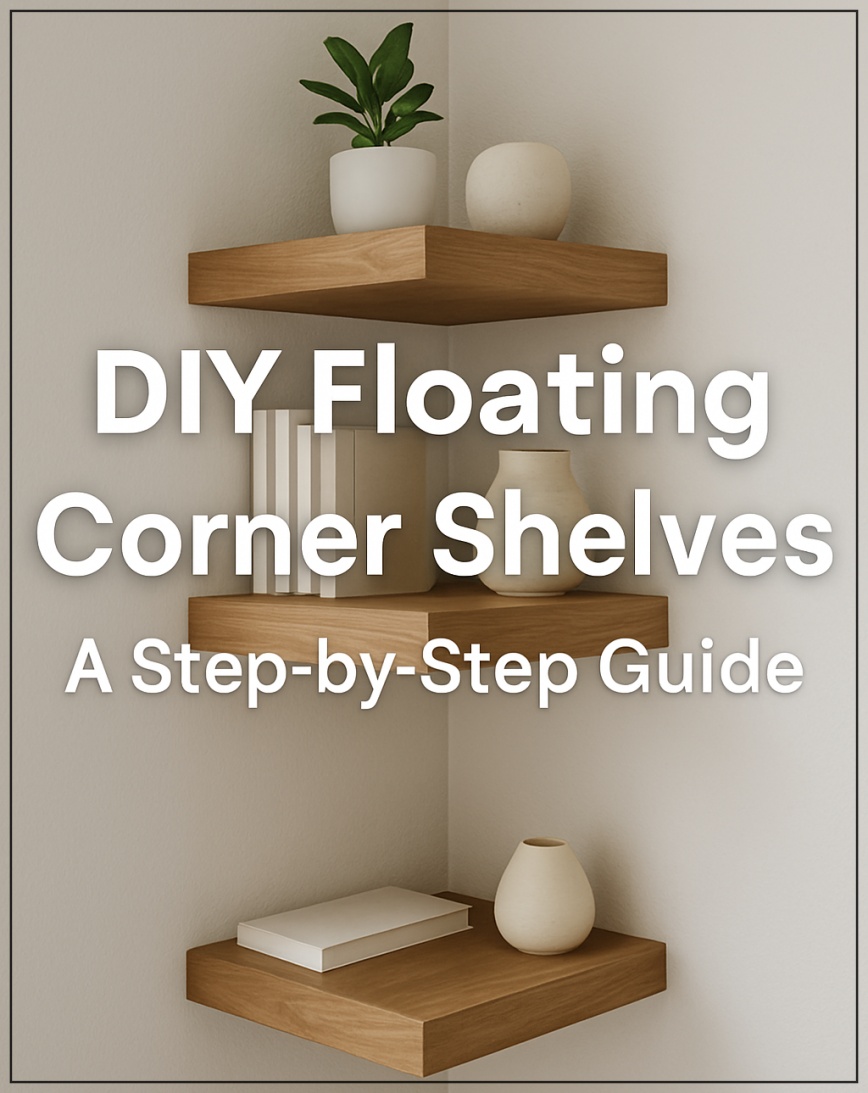
Why Floating Corner Shelves?
Corners are often the most underused areas in a room. They can feel awkward, empty, and uninviting. But with floating corner shelves, you can:
- Maximize storage in small spaces
- Showcase décor items like plants, candles, or books
- Add a cozy, custom look without bulky furniture
- Create visual interest with minimal materials
Plus, because they’re “floating” (i.e., mounted with hidden brackets), they give a clean and modern finish that blends seamlessly into your interior design.
What You’ll Need
Before we dive into the step-by-step, here’s a quick list of what you’ll need to get started:
Materials:
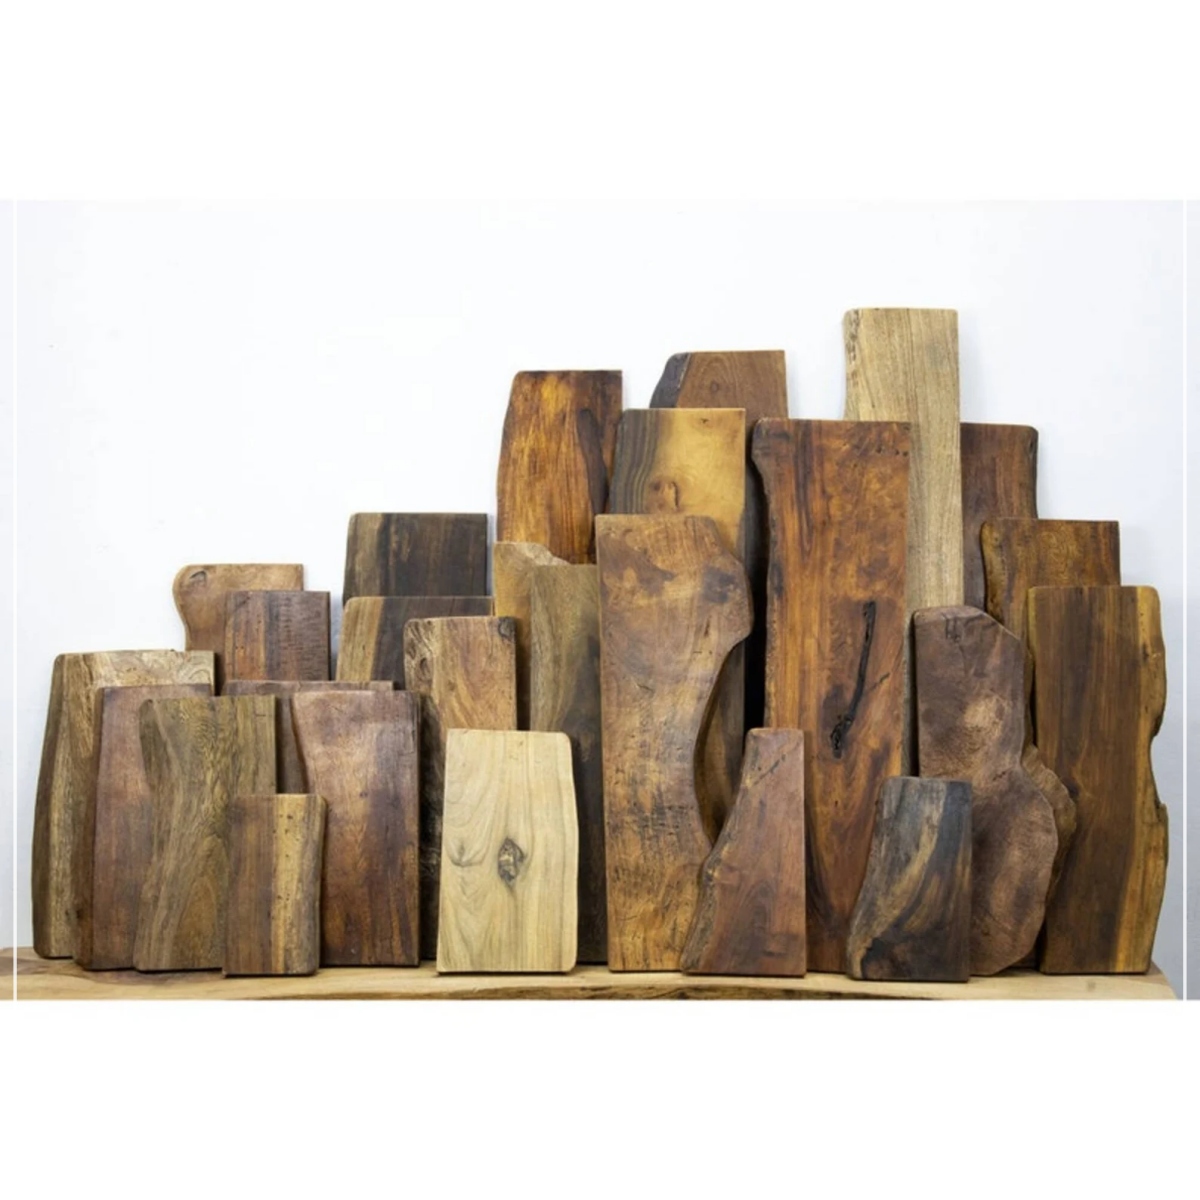
- Solid wood or plywood (cut into triangle shapes or quarter circles)
- Floating shelf brackets or metal L-brackets (preferably hidden)
- Screws and wall plugs (anchors)
- Sandpaper (120 to 220 grit)
- Wood stain or paint (optional)
- Clear sealant or polyurethane (for protection)
Tools:
- Drill and screwdriver
- Level
- Measuring tape
- Stud finder (optional but recommended)
- Pencil
- Clamps (if gluing layers of wood)
Step-by-Step: How to Build DIY Floating Corner Shelves
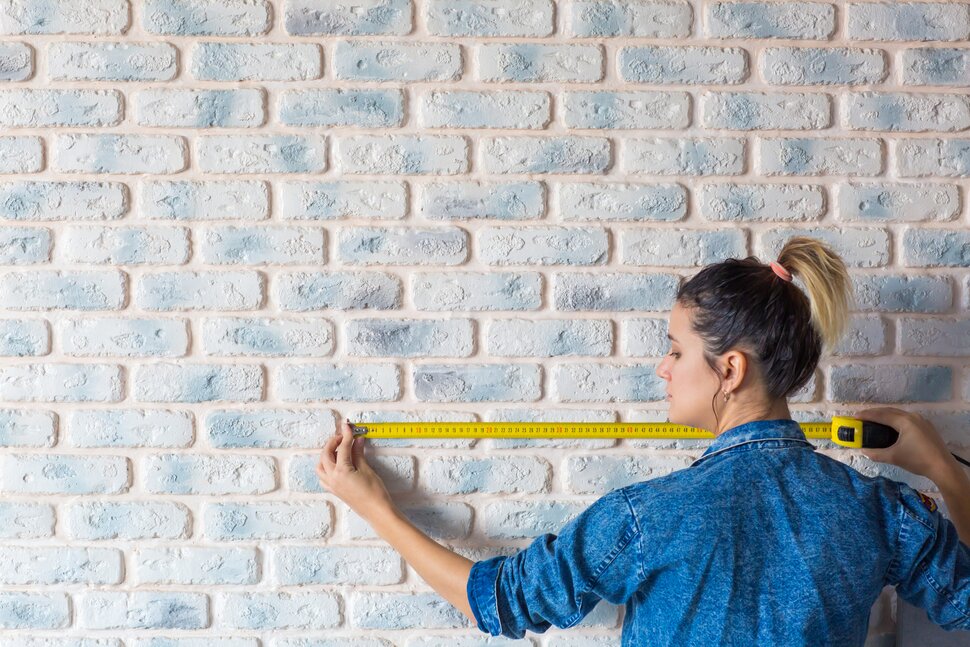
Step 1: Plan Your Space
Choose the corner where you want your shelves. Use a tape measure to determine how long you want each side of the shelf to be. Remember to consider height—shelves typically look best spaced 12–16 inches apart vertically.
Pro tip: Corners near windows or above small furniture like side tables are great spots for floating shelves.
Step 2: Cut Your Shelves
If you’re buying pre-cut pieces, great! If not, cut your wood into right-angled triangles (or quarter circles for a softer look). You can double-layer plywood and glue them together for a chunkier, more durable shelf.
Sand all edges smooth with medium then fine-grit sandpaper to avoid splinters and ensure a polished finish.
Step 3: Finish Your Shelves
Now’s the time to get creative. Stain the wood for a rich, natural look or paint it to match your wall. Apply a clear sealant to protect from moisture and dust.
Let it dry fully (usually 24 hours) before installation.
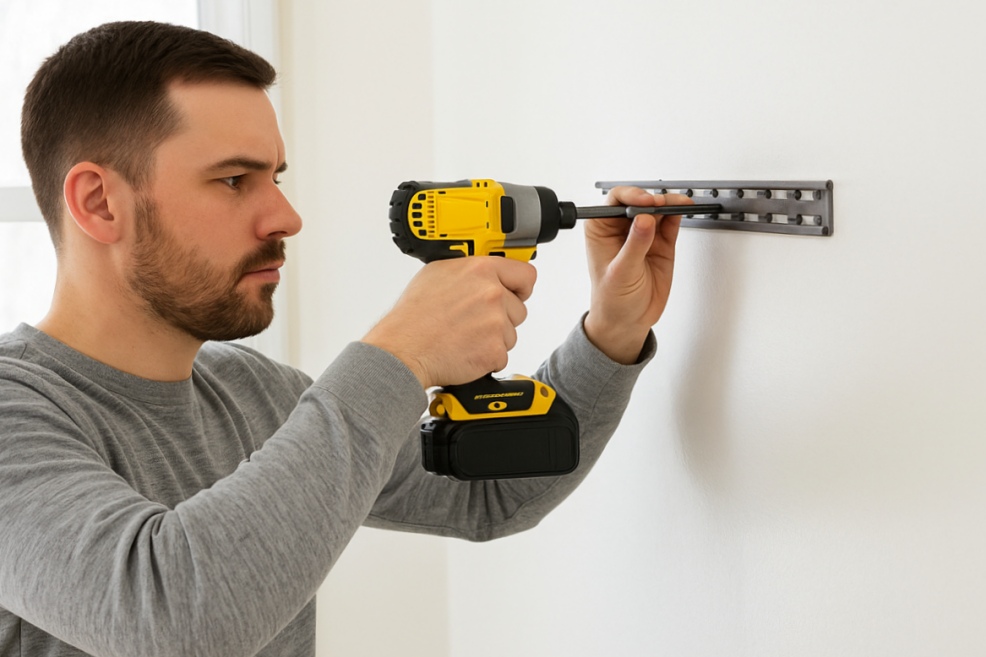
Step 4: Install the Brackets
Use a stud finder to locate studs—mounting into studs gives the strongest hold. If no stud is available, use high-quality wall anchors.
Mark your placement with a level and pencil, then install the brackets. Make sure they’re level with each other and flush against both walls of the corner.
Step 5: Mount the Shelves
Slide or rest your shelf pieces on top of the brackets. If using hidden supports, you’ll need to drill holes into the shelf to slide onto the bracket rods. Secure with screws from underneath if needed.
Double-check with your level to make sure everything is straight. Voilà!

Styling Your New Corner Shelves
Now for the fun part—styling your shelves! Floating corner shelves can take on many personalities depending on your vibe:
- Minimalist: One small plant, a candle, and a ceramic bowl.
- Boho: Add macramé, trailing vines, and warm earth tones.
- Rustic: Showcase antique jars, stacked books, and wood textures.
- Modern: Clean lines, geometric shapes, and monochrome accessories.
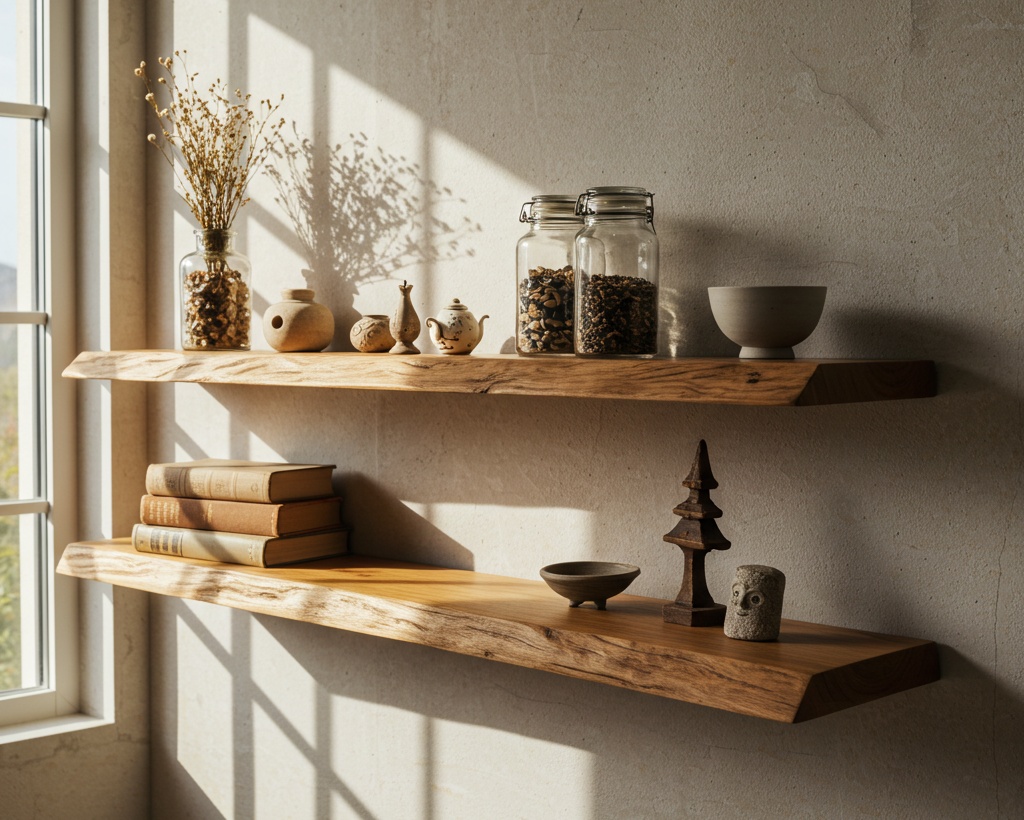
Whatever your style, keep it balanced and uncluttered. These shelves work best when the negative space around them is intentional.
Tips for Success
- Don’t overload your shelves—floating shelves are strong, but not indestructible.
- Use clamps if gluing wood together to avoid gaps or warping.
- Take your time with measurements. Uneven shelves can throw off the whole room’s balance.
- Always use a level. Seriously—don’t eyeball it!
Final Thoughts
DIY floating corner shelves are the kind of project that gives back more than it takes. In just a few hours, you can turn empty corners into beautiful focal points that are functional and personalized.
Whether you’re organizing a small apartment, cozying up a bedroom, or adding character to a hallway, floating shelves are a simple and budget-friendly upgrade that speaks volumes about your style.
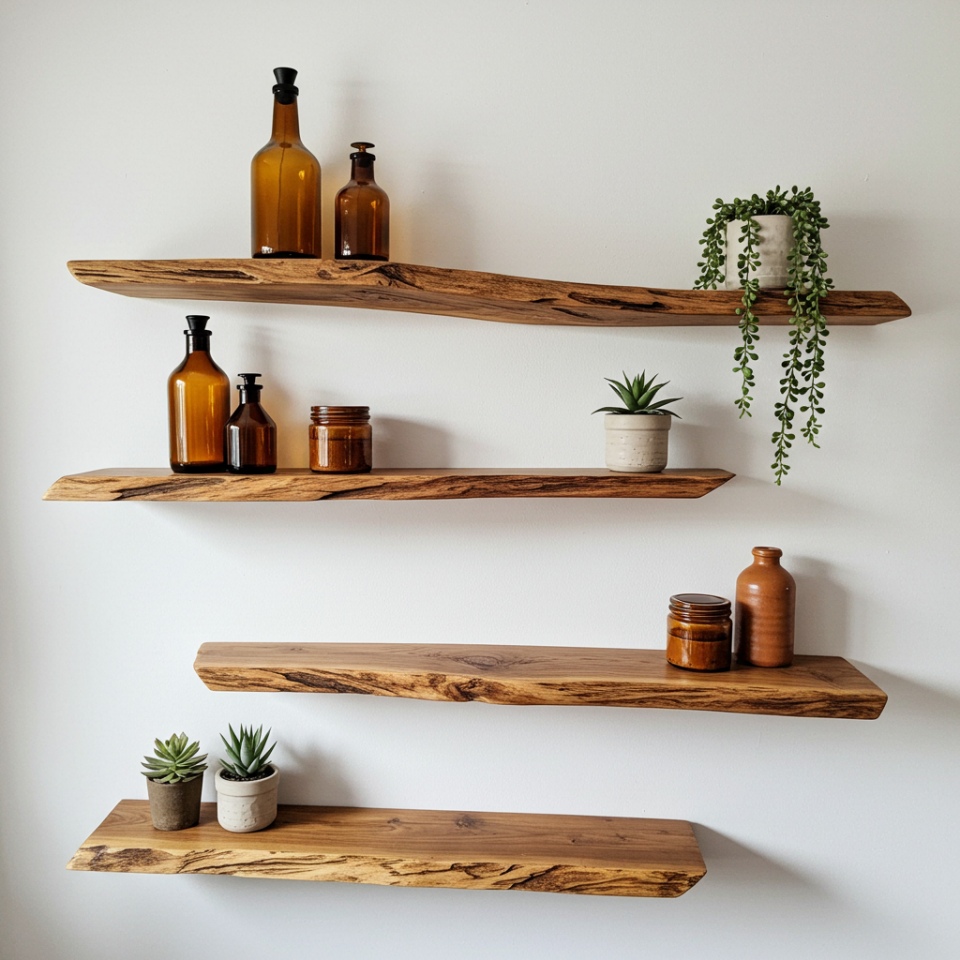
So grab your tools, pick your corner, and let the transformation begin. If you’re looking for more beautiful and ready-to-assemble floating cornet shelves, check out our handcrafted natural wood shelf collection.